How to Export Scanned Business Card Data to Excel or CSV for Business Use
Practical steps to turn scanned business cards into clean, usable spreadsheets: choose CSV or Excel based on use, map fields to your CRM, preserve UTF 8 encoding, remove duplicates, and automate recurring exports.
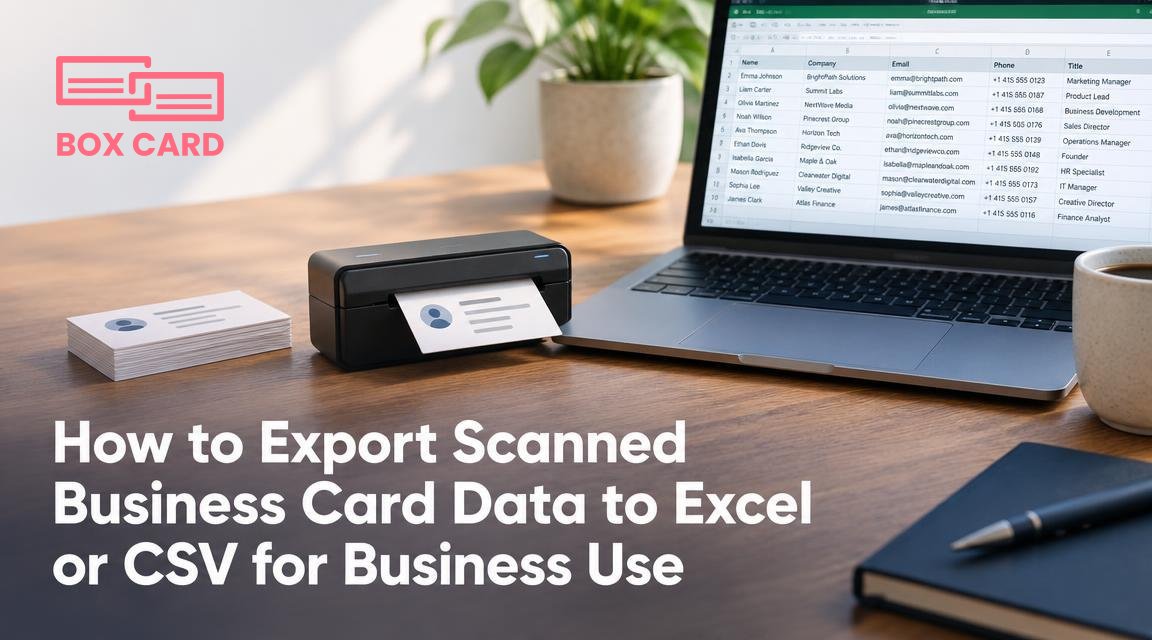
You scanned a stack of business cards, and now you need that data in a spreadsheet you can use for CRM imports, mail merges, or a targeted email campaign. The challenge is not only getting the file out of your business card app, but making sure fields map correctly, special characters are preserved, duplicates are removed, and the file opens in Excel without corrupted columns. This guide gives concrete steps and examples for a reliable export workflow, whether you want a CSV export for systems that require plain text or Excel contacts in a .xlsx file for manual editing.
Decide how you will use the data first
Before exporting, decide the primary use. That choice determines format, field selection, and cleanup priorities.
- CRM bulk import: you need consistent column headers that match the CRM template, standardized phone numbers, and separate name fields.
- Mail merge or labels: you need full address fields split into street, city, state, postal code, country.
- Email campaign: you must have validated email addresses and consent notes where applicable.
- Internal sharing or analysis: you may want notes, tags, and source metadata such as event name and date.
Choose CSV or Excel, and why each matters
CSV export and Excel contacts are both common, but they have different trade offs.
- CSV export: plain text, universal, smaller files, required by many CRMs and marketing systems. Watch character encoding, delimiter, and quoting rules. Ideal for automated imports.
- Excel contacts: stores typed cells, multiple sheets, and richer formatting. Better for manual review, editing, and complex data such as long notes or checklists. Use .xlsx when you want to preserve formatting and columns reliably.
Prepare the data inside your card app
Most business card scanner tools let you edit contacts after scanning. Spend 10 to 20 minutes on a representative sample to reduce work later.
- Standardize name fields: split full name into First Name and Last Name where possible. CRMs often require separate fields.
- Normalize phone numbers: include country codes with a plus sign, remove spaces or decide on a consistent format. Example: +44 20 7946 0958 or +442079460958 depending on your import rules.
- Fix addresses: separate street, city, state, postal code, country into dedicated fields if your app supports it.
- Add tags or a source field: note where the contact came from, such as "Conference March 2026". This helps dedupe and segmentation later.
- Remove or flag personal contacts you are not allowed to use for commercial outreach, to stay compliant with privacy rules.
Map fields: a concrete example
Before exporting, build a simple mapping table showing how your app fields correspond to the target spreadsheet headers. Here is a common mapping used for CRM imports.
| App field | Spreadsheet header | Notes |
|---|---|---|
| Given name | First Name | Keep short; do not include middle names. |
| Family name | Last Name | Use a single column for CRM last name. |
| Company | Account | Map to the CRM account or company field. |
| Job title | Title | Keep capitalization consistent. |
| Phone | Phone | Include country code. |
| Validate format before import. | ||
| Address | Street, City, State, Postal Code, Country | Split into multiple columns if required. |
| Notes / Tags | Notes, Tags | Useful for segmentation. |
Export steps: a practical workflow for CSV export
- Filter contacts to export: tag the batch you want, for example "TradeShow-2026".
- Choose CSV format and delimiter: use comma as delimiter unless the target system requires semicolon. If many fields include commas, ensure proper quoting is applied by the app.
- Set encoding to UTF-8: this preserves accents and non Latin scripts. If the app lets you choose, prefer UTF-8. If your target system requires Windows 1252, convert deliberately and check characters.
- Export a small sample first: export 10 to 50 contacts and open the file to check column order, header names, and special characters.
- Open correctly in Excel: do not double click the CSV on some systems, since Excel may interpret encoding incorrectly. Use Excel's Data, Get Data, From Text/CSV option and choose UTF-8 and the correct delimiter when importing.
Export steps: creating Excel contacts in .xlsx
- Export as CSV if the app lacks a direct .xlsx option, then open the CSV in Excel using the import steps above.
- Once imported, adjust column types: set phone columns to Text to preserve leading plus signs and zeros, set postal codes to Text if they have leading zeros.
- Use one sheet for master data and another for raw notes or scanned images if needed.
- Save as .xlsx to preserve formatting and any formulas you add for cleaning or validation.
Data-cleaning checklist after export
- Remove duplicates: use Excel's Remove Duplicates on email or phone, then manually review fuzzy matches. Two similar names with different emails could be different people.
- Validate emails: use Excel filters or simple regex based checks to flag obvious errors. For larger lists, use a verification service before sending bulk email.
- Standardize phone numbers: use formulas or a small script to transform formats, and keep country code separate if possible.
- Split or join columns: use Text to Columns to split full names or addresses. Use CONCATENATE or TEXTJOIN to build display names for exports back to systems that expect a single full name field.
- Keep a raw export: always keep an untouched CSV backup before modifying data, so you can restart if mapping issues arise.
Handling multilingual and special characters
Non Latin scripts and accented characters are a common source of corruption. Use UTF-8 from export to import, and when handing files to partners, confirm they can accept UTF-8. If Excel shows strange characters after opening a CSV, re-import it using the Get Data tool and explicit UTF-8 selection.
Automating exports and keeping data current
If you regularly need fresh spreadsheets, consider automation options:
- Scheduled exports: if your app can schedule exports to a cloud folder, sync that folder and ingest the file automatically into your process.
- Integration platforms: tools like Zapier or Make can move new contacts to a Google Sheet or to a CRM when your business card scanner app supports integrations.
- APIs: if your vendor provides an API, a simple script can pull new contacts and append them to your master spreadsheet or load them directly into a CRM. This reduces manual exports and errors.
Privacy and compliance reminders
Exports increase risk because the data becomes a portable file. Limit access, store exports in encrypted folders when possible, and record the lawful basis for contact if you plan marketing outreach. Remove contacts that are personal only, and honor opt outs immediately.
Quick tip: export a small sample, open it with the import tool in your target system, and confirm field mapping before processing the whole batch.
Start small with a tagged export, check encoding and header names, then apply the cleaning checklist. If you need repeatable exports, investigate scheduled exports or an integration that moves contacts to your CRM automatically. These steps cut manual errors and make the exported sheet ready for whatever business use you have in mind.

